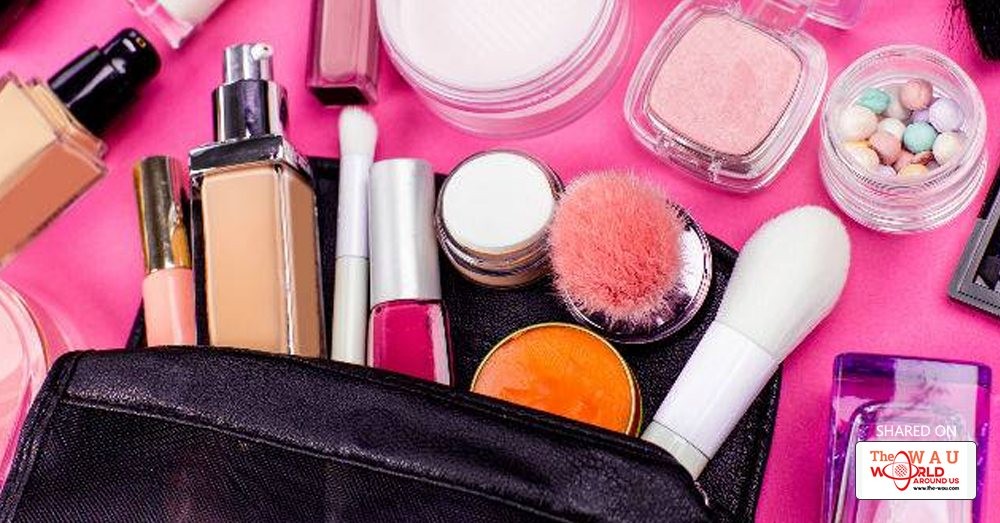
Are your one of those girls who has a lot of makeup but little space in your bag?
Don't worry, we have got seven steps for how you can organise your makeup bag.
Step 1 - Shop for some storage
Get your hands on some clear zippy cases that can hold all your products. Either head to a stationery store and buy clearpencil cases, or, if you have a lot of make-up, invest in plastic pouches by My Kit Co. Its hardwearing,stackable make-up bags make it easy to store all your products. Buy eight or so - that should cover it. For nail varnish, we love the acrylic boxes by Muji.
Step 2 - Categorise your makeup
Start by separating your products into piles. Have one for eye make-up, one for lipsticks, one for cover-ups and base, and one for blushers. If you have a lot of products, you can sub-categorise eye make-up into liners and shadows, and your lipsticks into gloss and matt. Sounds borderline obsessive, but it will help you assess what you have and what you can chuck.
Step 3 - Make everything usable
You know the scenario: you're rushing around before a night out, you reach for the perfect eyeliner - and it's blunt. To prevent future faffing around to find a pencil sharpener, spend this time making sure all your lip liners and eye pencils are sharp and ready to use.
Step 4 - Create your own eye palette
If you're an eyeshadow fiend and have dozens lying around, yet you can never find the one you're after, it's time to get an empty magnetic palette. Prise out the eyeshadows from their casing using a flat metal stick, then place them into an empty palette. Having all your shadows in one place will ensure you use them more often.
Step 5 - Find a home for your brushes
Take this opportunity to wash your makeup brushes in baby shampoo and, once dried, store them in an open-top jar, standing upright. Reuse candle jars (Diptyque's look ridiculously chic), with one container for blusher and foundation brushes, one for eyeshadow brushes and one for tools (such as eyelash curlers and tweezers).
Step 6 - Organise your varnishes
If you have tons of nail colours, collect them together and keep in a medium Muji acrylic box - they're the perfect size to store them standing up. In a separate zippy bag, keep your nail tools - files, top and base coat and clippers. Ensure you store your varnishes in a cool, dark place so they don't dry out.
Step 7 - The everyday case
Now that all your makeup is organised, you have probably come across new favourite colours you can't wait to start using. In one empty case, organise your everyday makeup bag: you can reach for this in your bathroom each morning , saving lots of time. It should include blusher, foundation, concealer, eyeliner or shadow, mascara and lipstick. Then you can rotate eyeshadow colours and lipstick as often as you like. The rule? If you put in another lipstick, take one out and store it in the larger collection. And you're done! Go forth and never spend more than 10 minutes putting on make-up again.
Share This Post