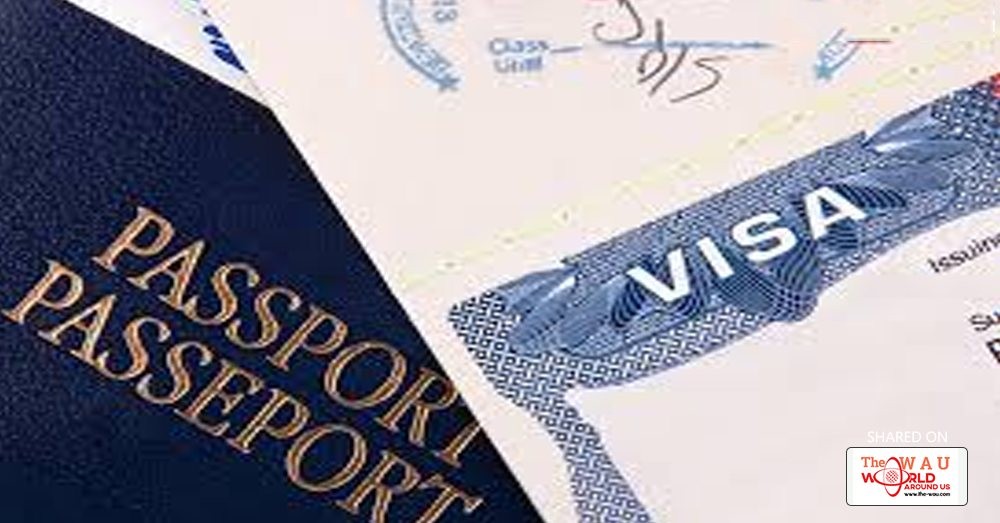
Business/Tourist Visa
Overview
The B-1/B-2 visitor visa is for people traveling to the United States temporarily for business (B-1) or for pleasure or medical treatment (B-2). Generally, the B-1 visa is for travelers consulting with business associates, attending scientific, educational, professional or business conventions/conferences, settling an estate or negotiating contracts. The B-2 visa is for travel that is recreational in nature, including tourism, visits with friends or relatives, medical treatment and activities of a fraternal, social or service nature. Often, the B-1 and B-2 visas are combined and issued as one visa: the B-1/B-2.
Qualifications
If you apply for a B-1/B-2 visa, you must demonstrate to a consular officer that you qualify for a U.S. visa in accordance with the U.S. Immigration and Nationality Act (INA). Section 214(b) of the INA presumes that every B-1/B-2 applicant is an intending immigrant. You must overcome this legal presumption by showing:
- That the purpose of your trip to the United States is for a temporary visit, such as business, pleasure, or medical treatment
- That you plan to remain in the United States for a specific, limited period of time
- Evidence of funds to cover your expenses while in the United States
- That you have a residence outside the United States, as well as other binding social or economic ties, that will ensure your return abroad at the end of your visit
Personal or domestic employees and crew members working aboard vessels within the Outer Continental Shelf may qualify for B-1 visas under certain circumstances.
Some foreign nationals may be ineligible for visas according to The Immigration and Nationality Act. You can read more about The Immigration and Nationality Act and visa ineligibility here.
How to Apply
Step 1
For Nonimmigrant Visa applicants:Determine your visa type by reading Common Nonimmigrant Visas. Each visa type explains the qualifications and application items. Choose the visa type that applies to your situation.
Be sure to also review the Visa Waiver Program. If your country participates in the Visa Waiver Program, you do not need to apply for a visa if you are travelling for business or pleasure and will only be staying in the Unites States for 90 days or less.
Note: If you are under 14 or over 79 years old, or if you previously received a U.S. visa that expired within the last 48 months or 12 months and you are returning to the United States for the same purpose of travel, you may be able to obtain a visa without coming to the consulate for an interview. Click here to learn more
Step 2
The next step is to complete the Nonimmigrant Visa Electronic Application (DS-160) form.Be sure to read the Guidelines for Completing the DS-160 Form carefully. All information must be correct and accurate. Once the form is submitted, you cannot make any changes. If you need assistance, please consult an immigration lawyer or translator. The call center cannot help you complete your DS-160. You will need your DS-160 number to book your appointment.
Note: If denied visa previously please complete a new Nonimmigrant Visa Electronic Application (DS-160) form.
Step 3
Once you have determined the correct visa type and completed the DS-160, you must pay the visa fee. The visa fee page lists the visa types and correlating visa fee in US dollars and native currency.
To pay your visa fee, read the Bank and Payment Options page. This page explains how to make your visa fee payment. You will create a profile and must keep your receipt number to book your visa appointment
Step 4
You are almost ready to schedule your visa appointment! Now you will need to login to your profile with the same credentials you used to pay your visa fee. Once you are in the system, you will see your dashboard.Click on Schedule Appointment on the left-hand side menu. This will start the process for scheduling your appointment.
You must schedule two appointments, one for the Visa Application Center (VAC) and one for the visa interview at the Embassy or Consulate.
First, schedule your visa interview appointment at the Embassy or Consulate.
Second, schedule your appointment at a Visa Application Centre. This appointment will allow you to go to one of the five Visa Application Centre locations to have your fingerprints and photo taken. This appointment must be at least 1 day before your visa interview appointment at the Embassy or Consulate.You will need three pieces of information in order to schedule your appointment:
- Your passport number
- The date you paid your fee
- The ten (10) digit barcode number from your DS-160 confirmation page
As you go through the process you will be able to select your visa type, enter personal data, add dependents, select your document delivery location, confirm visa payment, and schedule your appointment.
Step 5
For your Visa Application Centre appointment, you will need to bring:
- A passport valid for travel to the United States with validity dates at least six months beyond your intended period of stay in the United States (unless country-specific agreements provide exemptions). If more than one person is included in your passport, each person desiring a visa must submit an application.
- Your DS-160 confirmation page.
- Your appointment confirmation page.
- One photograph as per U.S. visa specifications if the applicant is under 14 years of age. See the Photos and Fingerprints page for more details.
Step 6
Following your visit to the Visa Application Centre to have your photo and fingerprints taken,you will then visit the U.S. Embassy or Consulate on the date and time of your visa interview. You must bring :
- A printed copy of your appointment letter,
- Your DS-160 confirmation page
- Your current and all old passports
- Supporting Documents as per your visa type
Applications without all of these items will not be accepted.
Note: Children under 14 years of age are not required to attend the appointment at the Visa Application Centre or visa interview at the Embassy/Consulate. Accompany/Guardians/Parents can carry the above documents
Supporting Documents
Supporting documents are only one of many factors a consular officer will consider in your interview. Consular officers look at each application individually and consider professional, social, cultural and other factors during adjudication. Consular officers may look at your specific intentions, family situation, and your long-range plans and prospects within your country of residence. Each case is examined individually and is accorded every consideration under the law.
Caution: Do not present false documents. Fraud or misrepresentation can result in permanent visa ineligibility. If confidentiality is of concern, the applicant should bring the documents to the Embassy or Consulate in a sealed envelope. The Embassy or Consulate will not make this information available to anyone and will respect the confidentiality of the information.
You should bring the following documents to your interview. Original documents are always preferred over photocopies and you must bring these documents with you to the interview. Do not fax, email or mail any supporting documents to the Embassy or Consulate.
- Current proof of income, tax payments, property or business ownership, or assets.
- Your travel itinerary and/or other explanation about your planned trip.
- A letter from your employer detailing your position, salary, how long you have been employed, any authorized vacation, and the business purpose, if any, of your U.S. trip.
- Criminal/court records pertaining to any arrest or conviction anywhere, even if you completed your sentence or were later pardoned.
Additionally, based on your purpose of travel, you should consider bringing the following:
Students
Bring your latest school results, transcripts and degrees/diplomas. Also bring evidence of financial support such as monthly bank statements, fixed deposit slips, or other evidence.
Working adults
Bring an employment letter from your employer and pay slips from the most recent three months.
Business visitors and company directors
Bring evidence of your position in the company and remuneration.
Visiting a relative
Bring photocopies of your relative's proof of status (e.g. Green Card, naturalization certificate, valid visa, etc).
Previous visitors to the United States
If you were previously in the United States, any documents attesting to your immigration or visa status.
Supporting Documents for Applicants Seeking Medical Care
If you wish to travel to the U.S. for medical treatment, then you should be prepared to present the following documentation in addition to the documents listed above and those the consular officer may require:
- A medical diagnosis from a local physician explaining the nature of your ailment and the reason you require treatment in the United States.
- A letter from a physician or medical facility in the United States expressing a willingness to treat this specific ailment and detailing the projected length and cost of treatment (including doctors' fees, hospitalization fees, and all medical-related expenses).
- A statement of financial responsibility from the individuals or organization paying for your transportation, medical and living expenses. The individuals guaranteeing payment of these expenses must provide proof of their ability to do so, often in the form of bank or other statements of income/savings or certified copies of income tax returns.
Share This Post