You needn’t spend a ton of cash and go to the salon to get a French manicure; you can do it at home, all by yourself.
You needn’t envy women who can afford to spend money on expensive salons to get a stylish manicure. Here we show you exactly how to do a French manicure at home.
7 Step French Manicure Tutorial
- Begin by giving your nails an even trim; ideally longer is better.
- Shape your nails, either round or square.
- Soak your hands in a bowl of lukewarm water before pushing your cuticles back using a cuticle pusher.
- Apply cuticle oil on your nails.
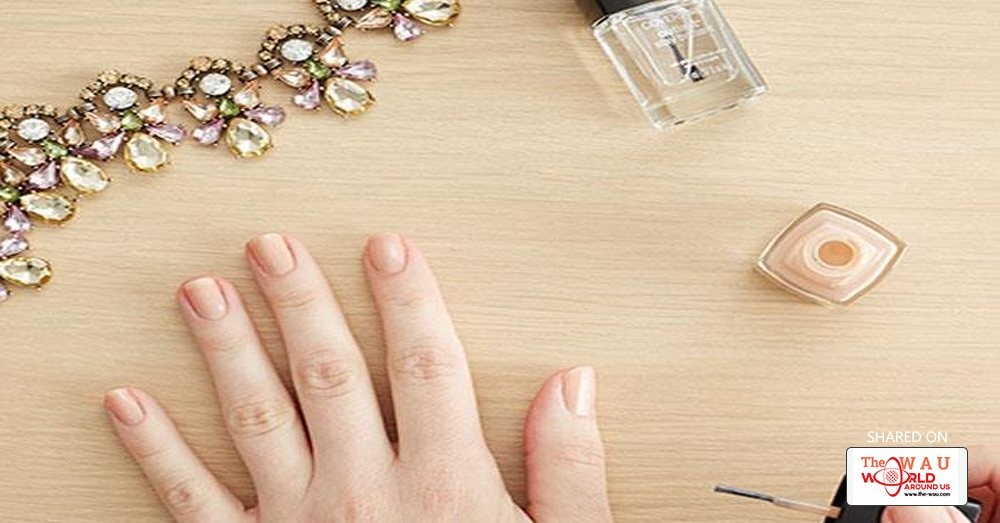
- It’s base coat time! Simply paint a thin layer of pink polish on your nails and let them dry for about two minutes. Apply a second coat and let it dry.
- Using white polish and a nail guide, gently brush color only on the nail tips of your nails and let it dry for a couple of minutes. Apply a second coat and let it dry.
- Take off the nail guide and put on a final coating of polish.
And for those interested, here’s how to do a reverse French manicure.
4 Step Reverse French Manicure Tutorial
- Begin by applying a base coat and let it dry.
- Now apply two coats of any metallic hue and allow it to dry.
- Paint on a contrasting shade in a downward swiping motion and allow it to dry.
- Finish off with a glossy coating.
4 Tips For Making Your Homemade Manicure Last
- Make sure you paint on a transparent thin coat on your manicured nails every day. This holds the coat firmly in place.
- Should your nail polish chip, simply fill in the gaps with a white shade of nail polish and apply a transparent coat over the chipped areas.
- Always make sure you thoroughly moisturize the skin around your nails and not the nails themselves. Olay Total Effects 7 in 1 Anti-Ageing Day Cream is a good bet, as it will moisturize your hands and also prevent fine lines and wrinkles.
- To ensure your French manicure lasts always wear gloves when you’re doing the dishes or washing clothes.
Share This Post


