If we’re going to go through the trouble of applying natural DIY makeup, it makes sense to have a natural way to remove it.
After battling acne-prone skin when I was younger, I’ve made it a priority to take good care of my skin. I’ve found some great natural solutions for healthy, glowing skin through experimentation over the years, and below I’ll give you my best DIY makeup remover tips.
Why Wear Makeup at All?
Let’s be honest, just because you’re a “Wellness Mama” doesn’t mean you don’t like to feel pretty.
From taking a soothing lavender bath, to lathering up with a homemade whipped body butter, to applying makeup, I’ve learned it pays off to go out of my way to take care of myself in simple, natural, inexpensive ways. With six little ones underfoot, it makes a big difference to do these little things for myself.
So while I feel just fine on the days I don’t wear makeup (which are many), I appreciate having a few beauty tricks up my sleeve … while avoiding the harsh chemicals found in conventional products.
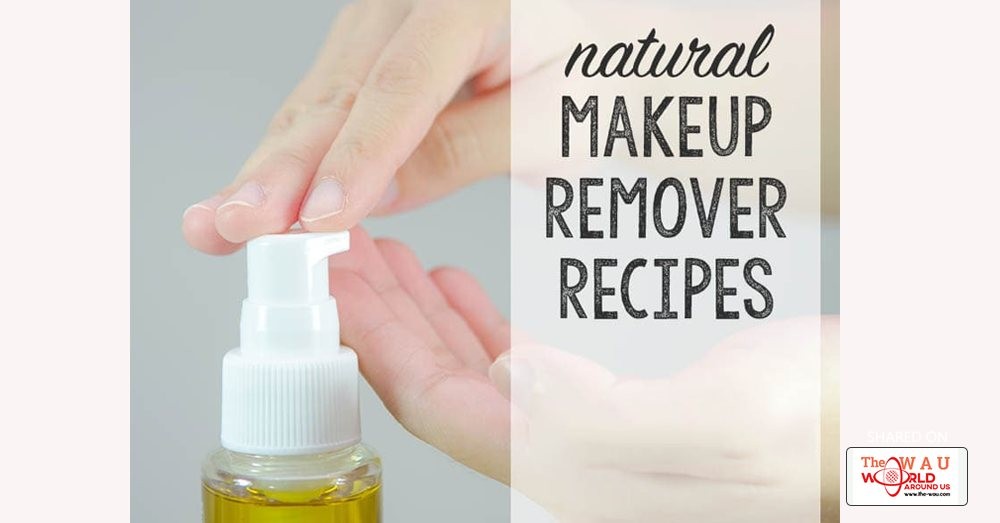
Best DIY Makeup Remover Solutions
There are several great options for removing makeup naturally, and these are also great skincare recipes even on no makeup days.
1. Oil Cleansing
Oil cleansing is just what it sounds like: cleaning your face with oil. This DIY makeup remover may be the simplest of all.
It sounds funny, but oil cleansing can actually dissolve excess oil in your pores. Using the right oils, you can balance overly dry or overly oily skin because oil cleansing can work for any skin type!
Popular oils to use for oil cleansing include castor and olive oil, but with some experimentation, you may find that other oils work well for your skin. Sunflower, safflower, avocado, and coconut oils may work as well. Personally, I’ve found a ratio of 3/4 olive oil to 1/4 castor or hazelnut oil is perfect for my skin.
Try one of the following recipes to decide which oils are right for your skin:
- Oily Skin: 1/3 castor oil or hazelnut oil to 2/3 olive, sunflower, or other oil
- Combination Skin: 1/4 castor or hazelnut oil and 3/4 olive, sunflower, or other oil
- Dry Skin: All nourishing oils like olive oil, or a very small amount of castor/hazelnut oil added to the nourishing oils.
To use the oil cleansing method as a DIY makeup remover:
- Use about a quarter-sized amount of oil and massage over your face for one to two minutes. (No need to pre-wash or wet your skin.)
- Soak a clean washcloth in very hot water and wring it out before placing it over your face. Allow it to sit and steam your face for about a minute.
- Give your skin a wipe with the clean side of the cloth and allow the thin layer of oil left behind to remain and soak into your skin.
I found that I had an adjustment period of about 3-4 weeks while my skin detoxed, during which I had increased breakouts. After my skin adjusted, it cleared right up and has looked great since!
2. Witch Hazel
If you want to step up your oil cleansing a notch, you can try adding witch hazel.
Made from the witch hazel shrub, witch hazel is basically an herbal extract or hydrosol. It has been used traditionally for skin problems and has a long history of use in the beauty industry.
I love witch hazel as a multi-purpose remedy because it helps with a variety of skin conditions. It helps with spot-treating acne, soothing dry skin or itching, and removing makeup.
To use witch hazel as a DIY makeup remover:
- Use witch hazel on its own or diluted 50:50 with water.
- Soak the corner of a washcloth or cotton makeup pad and remove makeup in circular motions.
...[ Continue to next page ]
Share This Post